![]()

Most of the time when you are using a public network, you are behind some kind of firewall or proxy. One of their purpose is to constrain you to only use certain kind of protocols and consult only a subset of the web. Nowadays, the most widespread protocol is http and is de facto allowed by third party equipment.
Wstunnel uses the websocket protocol which is compatible with http in order to bypass firewalls and proxies. Wstunnel allows you to tunnel whatever traffic you want and access whatever resources/site you need.
My inspiration came from this project but as I don't want to install npm and nodejs to use this tool, I remade it in Haskell Rust and improved it.
What to expect:
- Good error messages and debug information
- Static forward and reverse tunneling (TCP, UDP, Unix socket)
- Dynamic tunneling (TCP, UDP Socks5 proxy and Transparent Proxy)
- Support for http proxy (when behind one)
- Support for tls/https server with certificates auto-reload (with embedded self-signed certificate, or your own)
- Support IPv6
- Support for Websocket and HTTP2 as transport protocol (websocket is more performant)
- Standalone binaries (so just cp it where you want) here
v7.0.0 is a complete rewrite of wstunnel in Rust and is not compatible with previous version. Previous code in Haskell can be found on branch https://github.com/erebe/wstunnel/tree/haskell
What to expect from previous version:
- More throughput and less jitter due to Haskell GC. Most of you will not care, as it was performant enough already. But you can now saturate a gigabit ethernet card with a single connection
- Command line is more homogeneous/has better UX. All tunnel can be specified multiple times
- Tunnel protocol tries to look like normal traffic, to avoid being flagged
- Support of reverse tunneling
- New bug, it is a rewrite (╯'□')╯︵ ┻━┻ ¯\(ツ)/¯
- Mainly for me to ease the maintenance of the project. I don't do a lot of haskell nowadays and it was harder for me to keep maintening the project over time, as I get lost in touch of the Haskell ecosystem and new release.
- Armv7 build (aka raspberry pi), as new version of GHC (Haskell compiler) dropped its support
Use the websockets protocol to tunnel {TCP,UDP} traffic
wsTunnelClient <---> wsTunnelServer <---> RemoteHost
Use secure connection (wss://) to bypass proxies

Client:
Usage: wstunnel client [OPTIONS] <ws[s]://wstunnel.server.com[:port]>

Arguments:
  <ws[s]|http[s]://wstunnel.server.com[:port]>
          Address of the wstunnel server
          You can either use websocket or http2 as transport protocol. Use websocket if you are unsure.
          Example: For websocket with TLS wss://wstunnel.example.com or without ws://wstunnel.example.com
                   For http2 with TLS https://wstunnel.example.com or without http://wstunnel.example.com

          *WARNING* HTTP2 as transport protocol is harder to make it works because:
            - If you are behind a (reverse) proxy/CDN they are going to buffer the whole request before forwarding it to the server
              Obviously, this is not going to work for tunneling traffic
            - if you have wstunnel behind a reverse proxy, most of them (i.e: nginx) are going to turn http2 request into http1
              This is not going to work, because http1 does not support streaming naturally
          The only way to make it works with http2 is to have wstunnel directly exposed to the internet without any reverse proxy in front of it

Options:
  -L, --local-to-remote <{tcp,udp,socks5,stdio,unix}://[BIND:]PORT:HOST:PORT>
          Listen on local and forwards traffic from remote. Can be specified multiple times
          examples:
          'tcp://1212:google.com:443'      =>       listen locally on tcp on port 1212 and forward to google.com on port 443

          'udp://1212:1.1.1.1:53'          =>       listen locally on udp on port 1212 and forward to cloudflare dns 1.1.1.1 on port 53
          'udp://1212:1.1.1.1:53?timeout_sec=10'    timeout_sec on udp force close the tunnel after 10sec. Set it to 0 to disable the timeout [default: 30]

          'socks5://[::1]:1212'            =>       listen locally with socks5 on port 1212 and forward dynamically requested tunnel

          'tproxy+tcp://[::1]:1212'        =>       listen locally on tcp on port 1212 as a *transparent proxy* and forward dynamically requested tunnel
          'tproxy+udp://[::1]:1212?timeout_sec=10'  listen locally on udp on port 1212 as a *transparent proxy* and forward dynamically requested tunnel
                                                    linux only and requires sudo/CAP_NET_ADMIN

          'stdio://google.com:443'         =>       listen for data from stdio, mainly for `ssh -o ProxyCommand="wstunnel client -L stdio://%h:%p

          'unix:///tmp/wstunnel.sock:g.com:443' =>  listen for data from unix socket of path /tmp/wstunnel.sock and forward to g.com:443
  -R, --remote-to-local <{tcp,udp,socks5,unix}://[BIND:]PORT:HOST:PORT>
          Listen on remote and forwards traffic from local. Can be specified multiple times.
          examples:
          'tcp://1212:google.com:443'      =>     listen on server for incoming tcp cnx on port 1212 and forward to google.com on port 443 from local machine
          'udp://1212:1.1.1.1:53'          =>     listen on server for incoming udp on port 1212 and forward to cloudflare dns 1.1.1.1 on port 53 from local machine
          'socks5://[::1]:1212'            =>     listen on server for incoming socks5 request on port 1212 and forward dynamically request from local machine
          'unix://wstunnel.sock:g.com:443' =>     listen on server for incoming data from unix socket of path wstunnel.sock and forward to g.com:443 from local machine
      --socket-so-mark <INT>
          (linux only) Mark network packet with SO_MARK sockoption with the specified value.
          You need to use {root, sudo, capabilities} to run wstunnel when using this option
  -c, --connection-min-idle <INT>
          Client will maintain a pool of open connection to the server, in order to speed up the connection process.
          This option set the maximum number of connection that will be kept open.
          This is useful if you plan to create/destroy a lot of tunnel (i.e: with socks5 to navigate with a browser)
          It will avoid the latency of doing tcp + tls handshake with the server [default: 0]
      --tls-sni-override <DOMAIN_NAME>
          Domain name that will be use as SNI during TLS handshake
          Warning: If you are behind a CDN (i.e: Cloudflare) you must set this domain also in the http HOST header.
                   or it will be flagged as fishy and your request rejected
      --tls-sni-disable
          Disable sending SNI during TLS handshake
          Warning: Most reverse proxies rely on it
      --tls-verify-certificate
          Enable TLS certificate verification.
          Disabled by default. The client will happily connect to any server with self signed certificate.
  -p, --http-proxy <USER:PASS@HOST:PORT>
          If set, will use this http proxy to connect to the server
          [env: HTTP_PROXY=]
      --http-proxy-login <LOGIN>
          If set, will use this login to connect to the http proxy. Override the one from --http-proxy
          [env: WSTUNNEL_HTTP_PROXY_LOGIN=]
      --http-proxy-password <PASSWORD>
          If set, will use this password to connect to the http proxy. Override the one from --http-proxy
          [env: WSTUNNEL_HTTP_PROXY_PASSWORD=]
  -P, --http-upgrade-path-prefix <HTTP_UPGRADE_PATH_PREFIX>
          Use a specific prefix that will show up in the http path during the upgrade request.
          Useful if you need to route requests server side but don't have vhosts

          [env: WSTUNNEL_HTTP_UPGRADE_PATH_PREFIX=]
          [default: v1]
      --http-upgrade-credentials <USER[:PASS]>
          Pass authorization header with basic auth credentials during the upgrade request.
          If you need more customization, you can use the http_headers option.
      --websocket-ping-frequency-sec <seconds>
          Frequency at which the client will send websocket ping to the server. [default: 30]
      --websocket-mask-frame
          Enable the masking of websocket frames. Default is false
          Enable this option only if you use unsecure (non TLS) websocket server and you see some issues. Otherwise, it is just overhead.
  -H, --http-headers <HEADER_NAME: HEADER_VALUE>
          Send custom headers in the upgrade request
          Can be specified multiple time
      --http-headers-file <FILE_PATH>
          Send custom headers in the upgrade request reading them from a file.
          It overrides http_headers specified from command line.
          File is read everytime and file format must contains lines with `HEADER_NAME: HEADER_VALUE`
  -h, --help
          Print help

Server:
Usage: wstunnel server [OPTIONS] <ws[s]://0.0.0.0[:port]>

Arguments:
  <ws[s]://0.0.0.0[:port]>  Address of the wstunnel server to bind to
                            Example: With TLS wss://0.0.0.0:8080 or without ws://[::]:8080
                            The server is capable of detecting by itself if the request is Websocket or Http2. So you don't need to specify it.

Options:
      --socket-so-mark <INT>
          (linux only) Mark network packet with SO_MARK sockoption with the specified value.
          You need to use {root, sudo, capabilities} to run wstunnel when using this option
      --websocket-ping-frequency-sec <seconds>
          Frequency at which the server will send websocket ping to client.
      --websocket-mask-frame
          Enable the masking of websocket frames. Default is false
          Enable this option only if you use unsecure (non TLS) websocket server and you see some issues. Otherwise, it is just overhead.
      --restrict-to <DEST:PORT>
          Server will only accept connection from the specified tunnel information.
          Can be specified multiple time
          Example: --restrict-to "google.com:443" --restrict-to "localhost:22"
      --dns-resolver <DNS_RESOLVER>
          Dns resolver to use to lookup ips of domain name
          This option is not going to work if you use transparent proxy
          Can be specified multiple time
          Example:
           dns://1.1.1.1 for using udp
           dns+https://1.1.1.1 for using dns over HTTPS
           dns+tls://8.8.8.8 for using dns over TLS
          To use libc resolver, use
           system://0.0.0.0
  -r, --restrict-http-upgrade-path-prefix <RESTRICT_HTTP_UPGRADE_PATH_PREFIX>
          Server will only accept connection from if this specific path prefix is used during websocket upgrade.
          Useful if you specify in the client a custom path prefix and you want the server to only allow this one.
          The path prefix act as a secret to authenticate clients
          Disabled by default. Accept all path prefix. Can be specified multiple time
      --tls-certificate <FILE_PATH>
          [Optional] Use custom certificate (pem) instead of the default embedded self signed certificate.
          The certificate will be automatically reloaded if it changes
      --tls-private-key <FILE_PATH>
          [Optional] Use a custom tls key (pem, ec, rsa) that the server will use instead of the default embedded one
          The private key will be automatically reloaded if it changes
  -h, --help
          Print help
Static binaries are available in release section
docker image are available at https://github.com/erebe/wstunnel/pkgs/container/wstunnel
docker pull ghcr.io/erebe/wstunnel:latest- Understand command line syntax
- Simplest one with socks5 - Good for browsing internet
- Proxy SSH
- Bypass a corporate proxy
- Proxy Wireguard traffic
- Proxy easily any traffic with transparent proxy (linux only)
- Reverse tunneling
- How to secure access of your wstunnel server
- Use HTTP2 instead of websocket for transport protocol
- Maximize your stealthiness/Make your traffic discrete
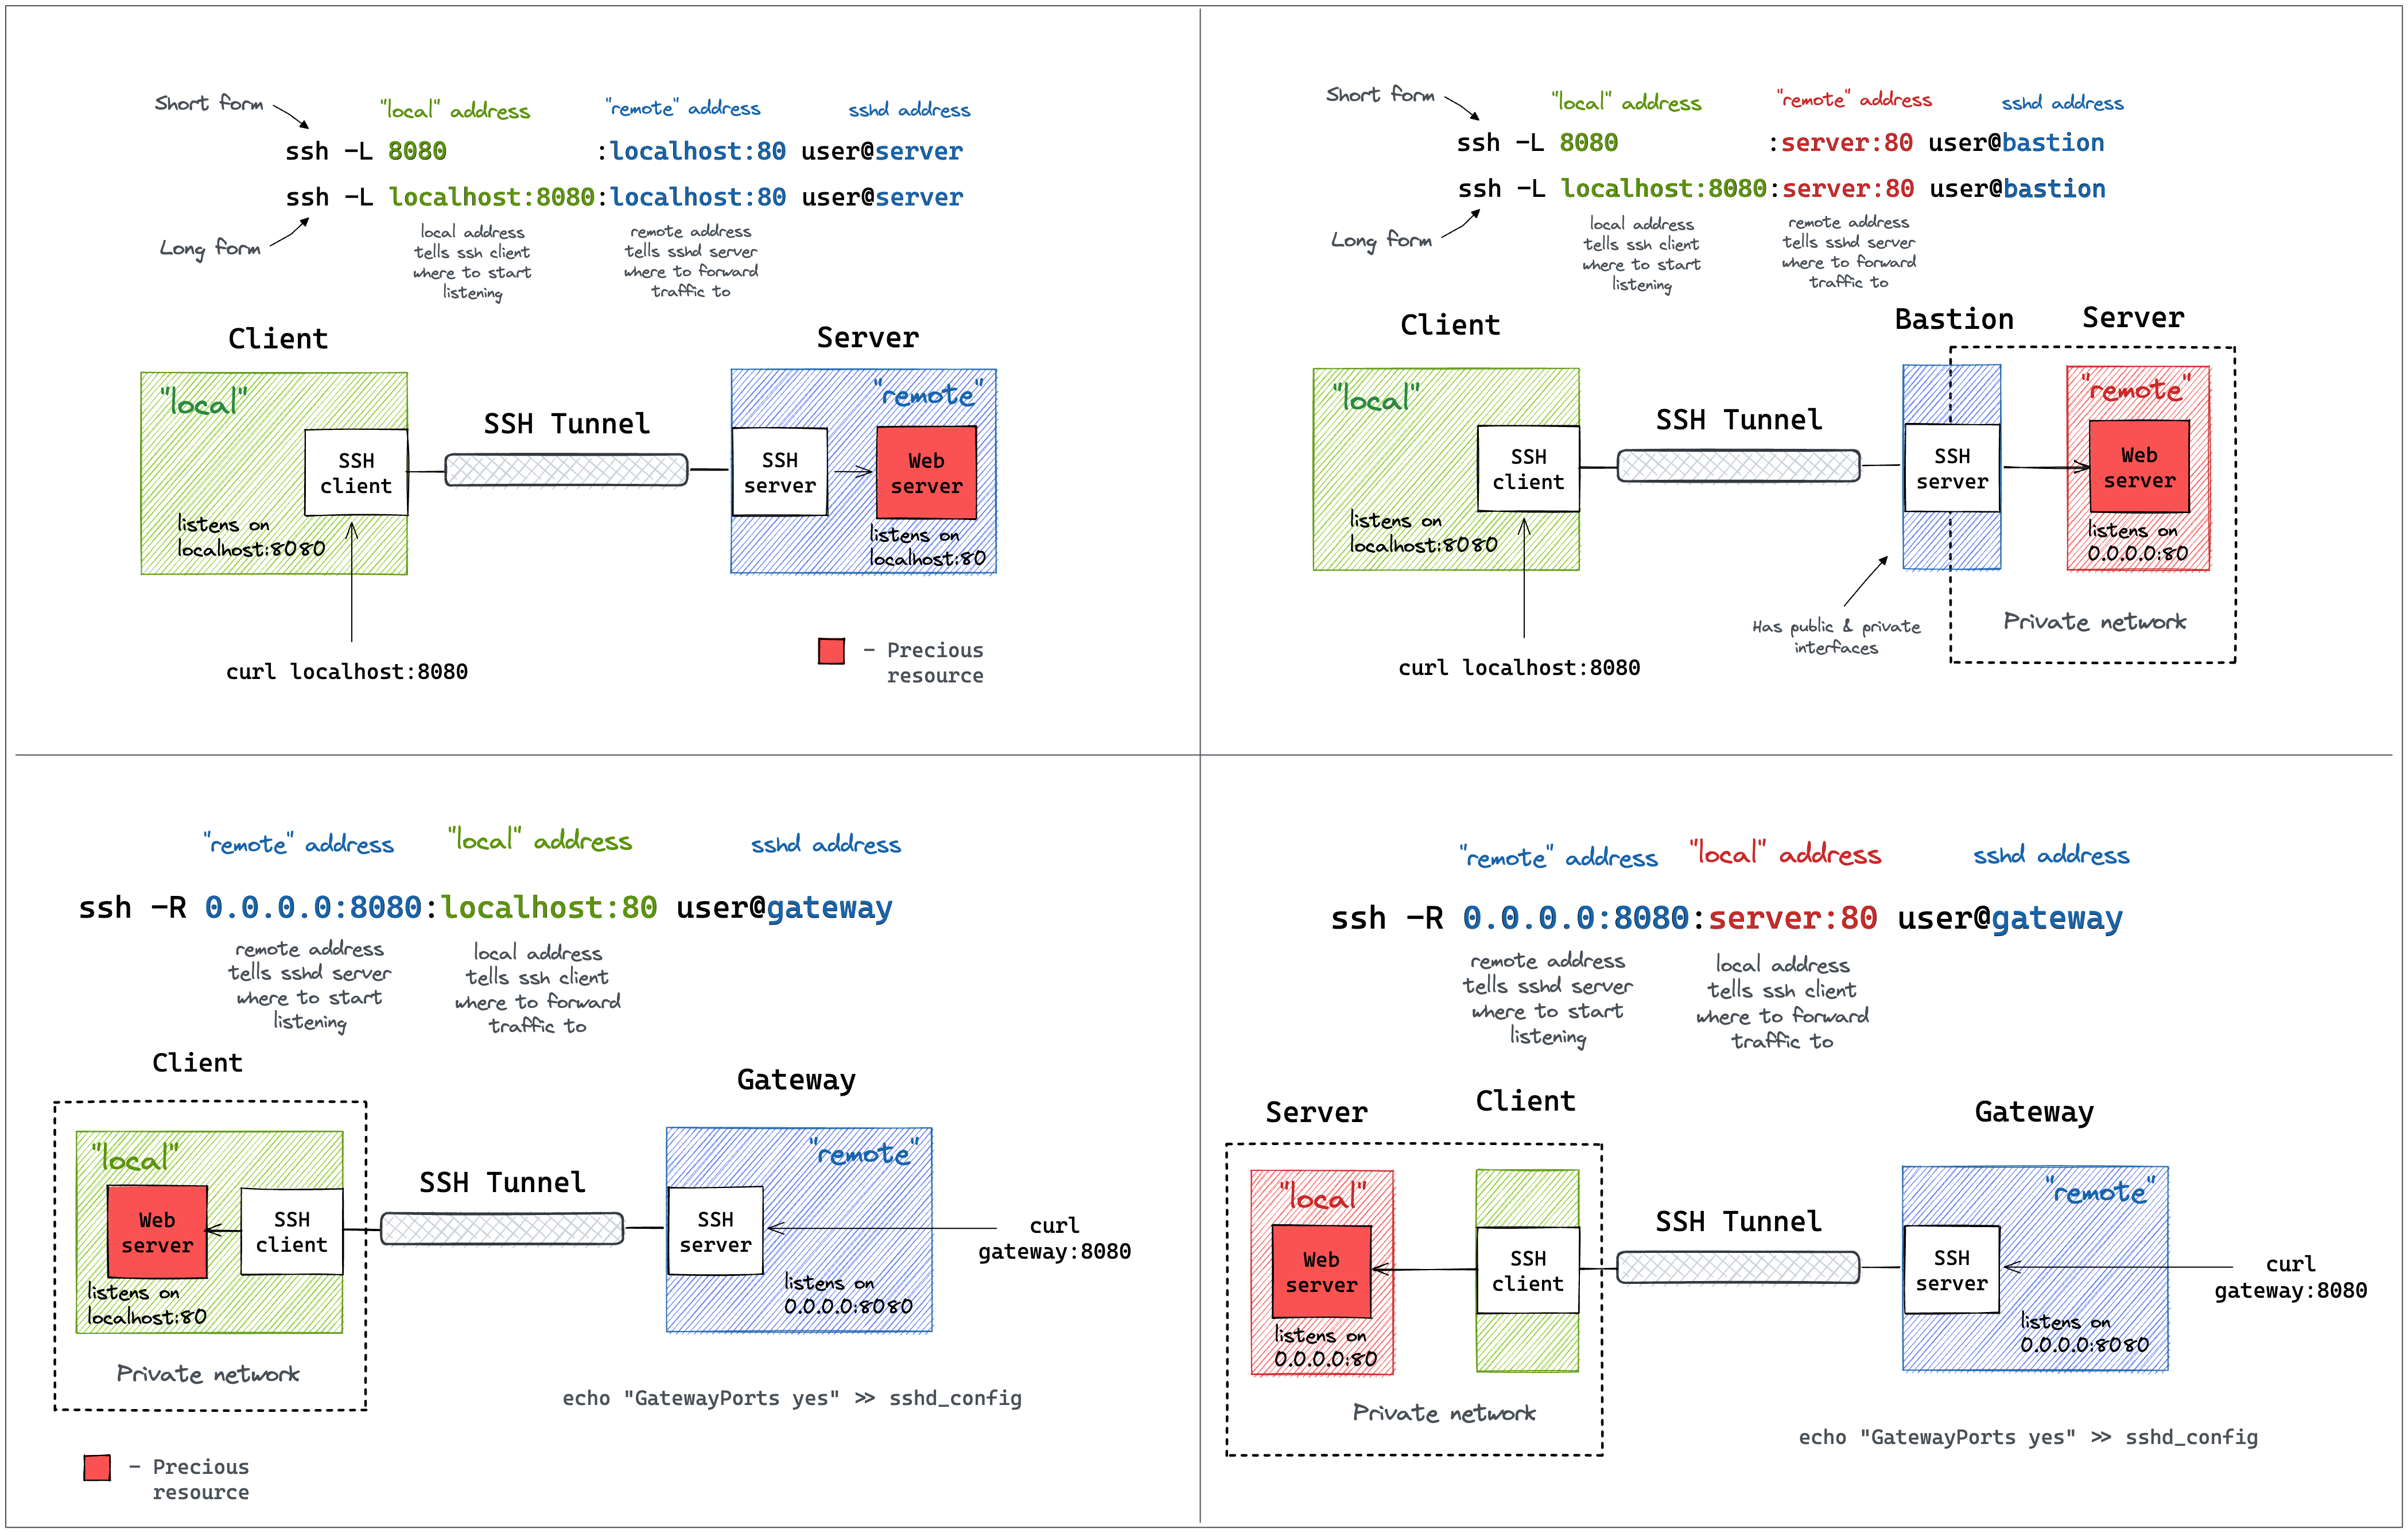
Wstunnel command line mimic ssh tunnel syntax.
You can take reference to this article, or this diagram to understand
On your remote host, start the wstunnel's server by typing this command in your terminal
wstunnel server wss://[::]:8080This will create a websocket server listening on any interface on port 8080. On the client side use this command to forward traffic through the websocket tunnel
wstunnel client -L socks5://127.0.0.1:8888 --connection-min-idle 5 wss://myRemoteHost:8080This command will create a socks5 server listening on port 8888 of the loopback interface and will forward traffic dynamically.
connection-min-idle 10 is going an optimization to create a pool of 10 connection connected to the server, to speed-up the establishement of new tunnels.
With firefox you can setup a proxy using this tunnel, by setting in networking preferences 127.0.0.1:8888 and selecting socks5 proxy.
Be sure to check the option Proxy DNS when using SOCKS v5 for the server to resolve DNS name and not your local machine.
or with curl
curl -x socks5h://127.0.0.1:8888 http://google.com/
#Please note h after the 5, it is to avoid curl resolving DNS name locallyYou can specify stdio as source port on the client side if you wish to use wstunnel as part of a proxy command for ssh
ssh -o ProxyCommand="wstunnel client -L stdio://%h:%p ws://myRemoteHost:8080" my-serverAn other useful example is when you want to bypass an http proxy (a corporate proxy for example) The most reliable way to do it is to use wstunnel as described below
Start your wstunnel server with tls activated
wstunnel server wss://[::]:443 --restrict-to 127.0.0.1:22The server will listen on any interface using port 443 (https) and restrict traffic to be forwarded only to the ssh daemon.
Be aware that the server will use self signed certificate with weak cryptographic algorithm. It was made in order to add the least possible overhead while still being compliant with tls.
Do not rely on wstunnel to protect your privacy, if it is one of your concerns, you should only forwards traffic that is already secure by design (ie: https or vpn traffic)
Now on the client side start the client with
wstunnel client -L tcp://9999:127.0.0.1:22 -p http://mycorporateproxy:8080 wss://myRemoteHost:443It will start a tcp server on port 9999 that will contact the corporate proxy, negotiate a tls connection with the remote host and forward traffic to the ssh daemon on the remote host.
You may now access your server from your local machine on ssh by using
ssh -p 9999 login@127.0.0.1You have a working wireguard client configuration called wg0.conf. Let's say
[Interface]
Address = 10.200.0.2/32, fd00:cafe::2/128
PrivateKey = xxxxxxxxxxxxxxxxxxxxxxxxxxxxxxxxxxxxxxxxxxx=

[Peer]
PublicKey = 9iicV7Stdl/U0RH1BNf3VvlVjaa4Eus6QPEfEz6cR0c=
AllowedIPs = 0.0.0.0/0, ::/0
Endpoint = my.server.com:51820
Start wstunnel server on my.server.com like this
wstunnel server --restrict-to localhost:51820 wss://[::]:443
on your local machine start the client like this
wstunnel client -L 'udp://51820:localhost:51820?timeout_sec=0' wss://my.server.com:443
change your wireguard client config to something
[Interface]
Address = 10.200.0.2/32, fd00:cafe::2/128
PrivateKey = xxxxxxxxxxxxxxxxxxxxxxxxxxxxxxxxxxxxxxxxxxx=
# Replace by a dns your server has access to
dns = 8.8.8.8
# https://github.com/nitred/nr-wg-mtu-finder to find best mtu for you
MTU = 1400

[Peer]
PublicKey = 9iicV7Stdl/U0RH1BNf3VvlVjaa4Eus6QPEfEz6cR0c=
AllowedIPs = 0.0.0.0/0, ::/0
# Should target port where wstunnel client is listenning to
Endpoint = localhost:51820
# Should not be necessary if you enable wstunnel client websocket ping
PersistentKeepalive = 20
Add a default route to your server, as your AllowedIps are catch-all, it is to avoid the traffic looping.
sudo ip route add ip.of.my.server.com dev eth0 via 192.168.0.1
# replace eth0 (interface) and 192.168.0.1 (router gateway) by the one given by `ip route get ip.of.my.server.com`
start your wireguard, and it should be working
sudo wg-quick up wg0
ping 10.200.0.1 # ping another ip of your vpn network
FAQ
- Disable default udp tunnel timeout that will auto-close it after 30sec.
i.e: udp://1212:127.0.0.1:5201?timeout_sec=0 - If you see some throughput issue, be sure to lower the MTU of your wireguard interface (you can do it via config file) to something like 1300 or you will endup fragmenting udp packet (due to overhead of other layer) which is always causing issues
- If wstunnel cannot connect to server while wireguard is on, be sure you have added a static route via your main gateway for the ip of wstunnel server. Else if you forward all the traffic without putting a static route, you will endup looping your traffic wireguard interface -> wstunnel client -> wireguard interface
Transparent proxy allows to easily proxy any program. Start wstunnel with
sudo wstunnel client -L 'tproxy+tcp://1080' -L 'tproxy+udp://1080' wss://my.server.com:443
use this project to route traffic seamlessly https://github.com/NOBLES5E/cproxy. It works with any program
cproxy --port 1080 --mode tproxy -- curl https://google.com
You can even start a new shell, were all your commands will be proxyfied
cproxy --port 1080 --mode tproxy -- bash
Start wstunnel with
sudo wstunnel client -R 'tcp://[::]:8000:localhost:8000' wss://my.server.com:443
In another terminal, start a simple webserver on your local machine
python3 -m http.server
From your my.server.com machine/network you can now do
curl http://localhost:8000
Generate a secret, let's say h3GywpDrP6gJEdZ6xbJbZZVFmvFZDCa4KcRd
Now start you server with the following command
wstunnel server --restrict-http-upgrade-path-prefix h3GywpDrP6gJEdZ6xbJbZZVFmvFZDCa4KcRd wss://[::]:443 And start your client with
wstunnel client --http-upgrade-path-prefix h3GywpDrP6gJEdZ6xbJbZZVFmvFZDCa4KcRd ... wss://myRemoteHostNow your wstunnel server, will only accept connection if the client specify the correct path prefix during the upgrade request.
Use this only if websocket is blocked by your firewall/proxy. Otherwise, it is less performant than websocket.
Start your wstunnel server as usual with
wstunnel server wss://[::]:8080On the client the only difference is to specify https:// instead of wss://
wstunnel client -L socks5://127.0.0.1:8888 https://myRemoteHost:8080WARNING HTTP2 as transport protocol is harder to make it works because:
- If you are behind a (reverse) proxy/CDN they may buffer the whole request before forwarding it to the server. Cloudflare is doing that, and obviously, this is not going to work for tunneling traffic
- if you have wstunnel behind a reverse proxy, most of them (i.e: nginx) are going to turn http2 request into http1 This is not going to work, because http1 does not support streaming naturally
The only way to make it works with HTTP2 is to have wstunnel server directly exposed to the internet without any reverse proxy in front of it
In addition, you may also want to play with the request headers (i.e: content-length and content-type) to make it looks like normal traffic to bypass your firewall/proxy. Some firewall may not like to see request with content-length not set, or with content-type set to application/octet-stream
- Use wstunnel with TLS activated (wss://) and use your own certificate
- Embedded certificate is self-signed and are the same for everyone, so can be easily fingerprinted/flagged
- Use valid certificate (i.e: with Let's Encrypt), self-signed certificate are suspicious
- Use a custom http path prefix (see
--http-upgrade-path-prefixoption)- To avoid having the same url than every other wstunnel user
- Change your tls-sni-override to a domain is known to be allowed (i.e: google.com, baidu.com, etc...)
- this will not work if your wstunnel server is behind a reverse proxy (i.e: Nginx, Cloudflare, HAProxy, ...)

Install the Rust https://www.rust-lang.org/tools/install or if you are a believer
curl --proto '=https' --tlsv1.2 -sSf https://sh.rustup.rs | sh
and run those commands at the root of the project
cargo build
target/debug/wstunnel ...