

AWS Server Migration Server (SMS) allows the migration of one or multiple on-premises virtual machines to AWS in an easy way from a single pane of glass.
The SMS service allows to schedule and automate replications needed to easily manage server migrations.

Setup the environment
Before deploying the required components to migrate virtual machines to AWS, both AWS and vSphere environments must be configured accordingly. Four main steps are required to complete the procedure:
- Download the AWS Server Migration Service appliance
- Create a IAM user in AWS used by the connector
- Configure a user and the role in vCenter Server used by the SMS appliance
- Deploy and configure the SMS appliance
Create an AWS user and grant permissions
To migrate virtual machines to AWS, you need to create a new IAM user used by the Server Migration Connector to communicate with AWS.
First login to the AWS console.
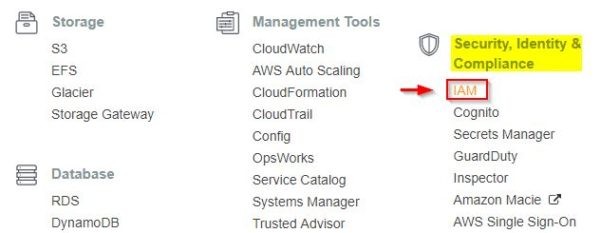
From the AWS console select IAM under Security, Identity & Compliance section to create a new user.
Select Users tab and click Add.

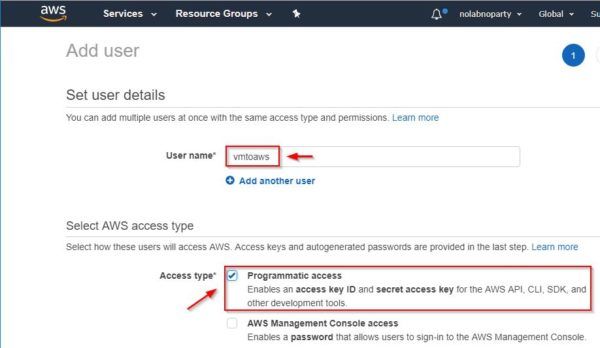
Specify the User name and select Programmatic access option. Click Next.
Select Add user to group tab then click Create group. Specify a Group Name and select the ServiceMigrationService policy then click Create group.
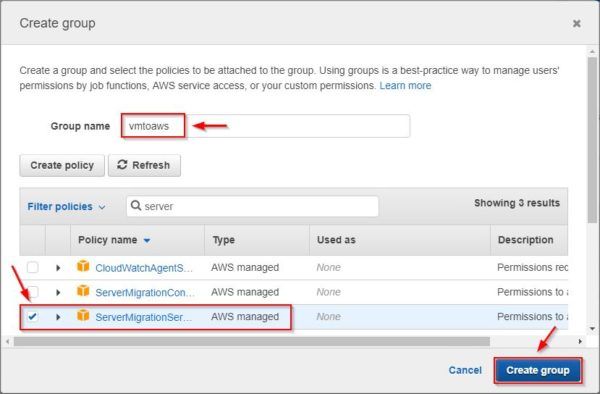
Click Create user.
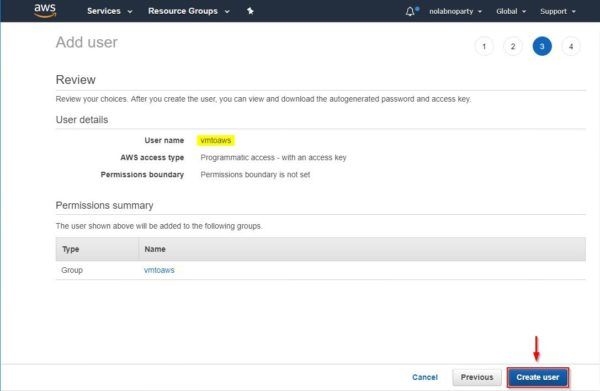
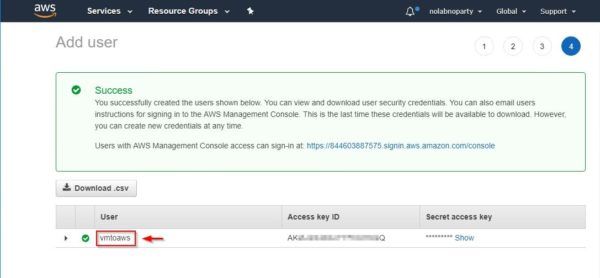
When the user has been created successfully, write down the Access key ID and the Secret access key then click Close.
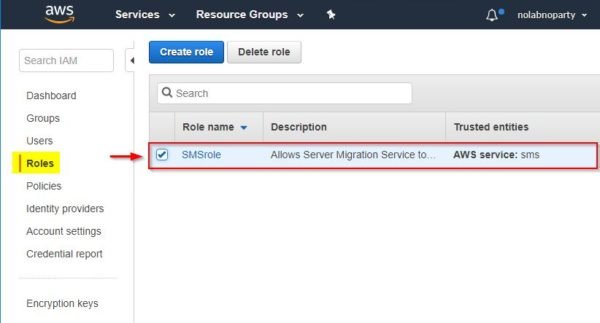
Attach the AWS Server Migration Service role to the created user. Following this guide to create the required role.
Configure a new user and role in vCenter Server
To grant the correct permissions to the account used by the Connector, from the vSphere Client click Menu and select Administration to access the Roles management area.
Select the Read-only role and click on clone icon.
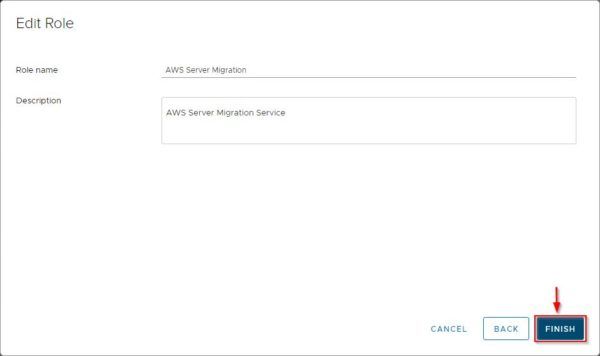
Enter the Role name and a Description then click OK.
Select the just created role from the list and click the edit icon.
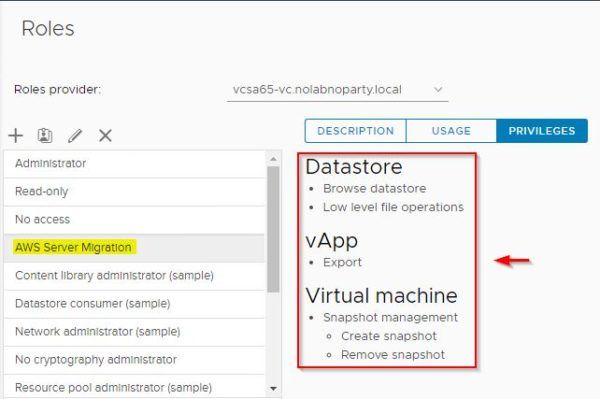
Assign the following permissions to the selected role and click Next when done:
- Datastore > Browse datastore and Low level file operations
- vApp > Export
- Virtual Machine > Snapshot management > Create snapshot and Remove Snapshot
- Host > Config > System Management
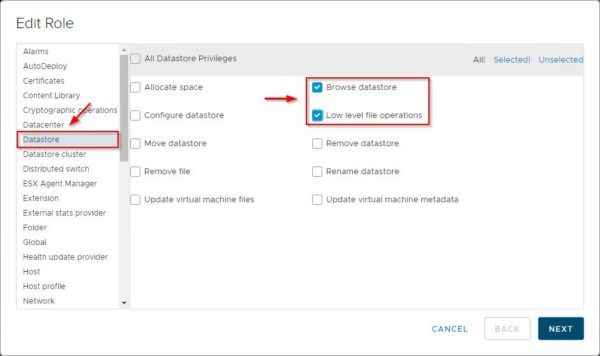
Click Finish to save the configuration.
Permissions assigned to the new role.
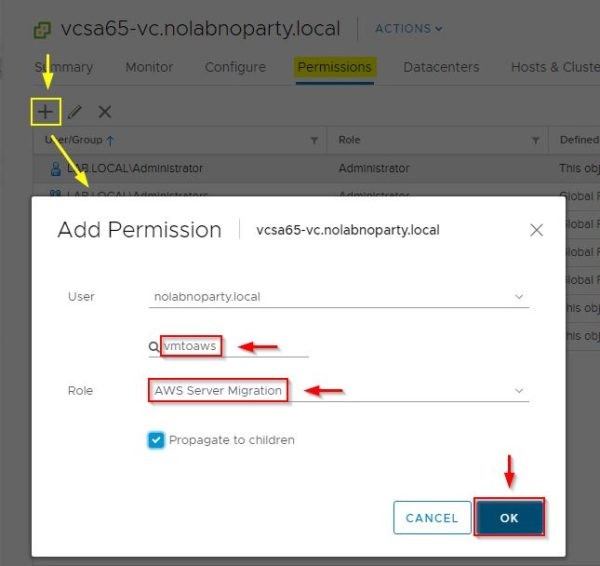
To apply permissions to vCenter Server’s objects, select the vCenter Server to process and go to the Permissions tab. Click on plus icon and specify the User and the Role to use. Enable Propagate to children option then click OK.
Deploy the Server Migration Connector appliance
Access the AWS portal and login with your account.
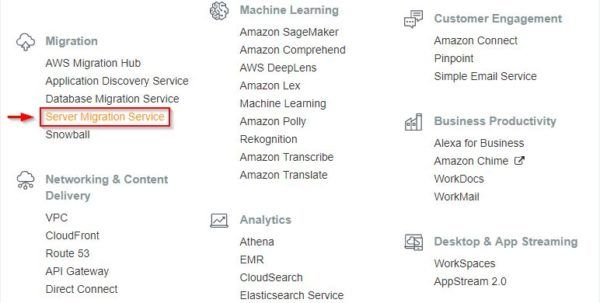
Select Server Migration Service under Migration.
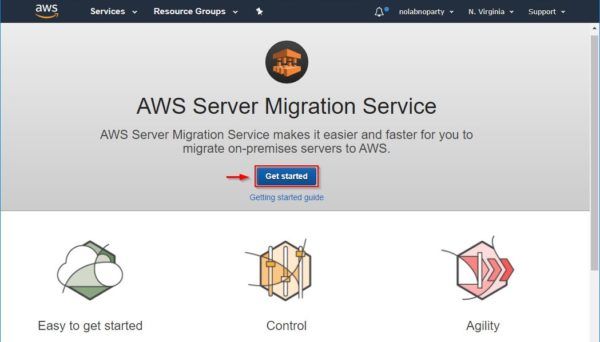
From the AWS Server Migration Service page click Get Started button.
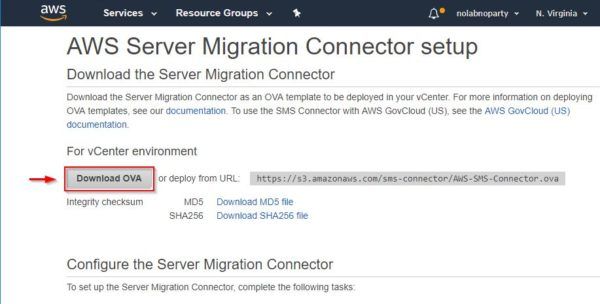
Click Download OVA to download the required vCenter format of the Server Migration Connector appliance.
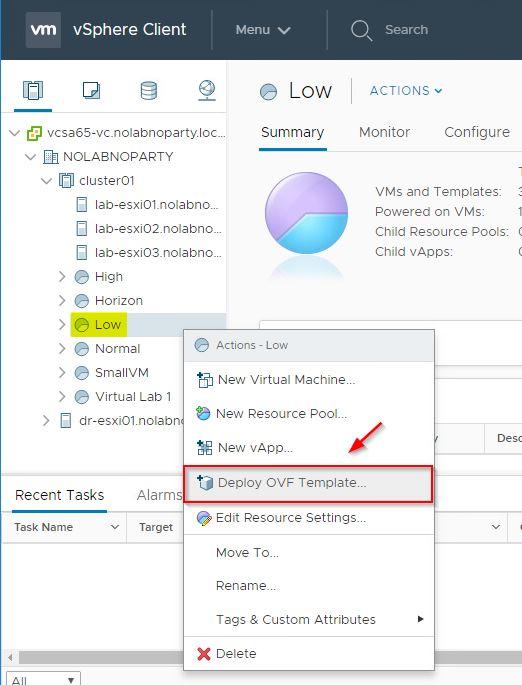
When the download has completed, from vSphere Client right click the cluster/resource pool where to install the appliance and select Deploy OVF Template option.
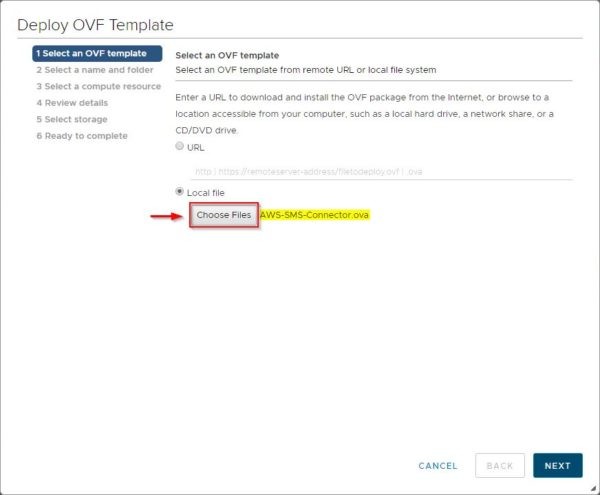
Click Choose Files and select the AWS-SMS-Connector.ova file just downloaded from AWS. Click Next.
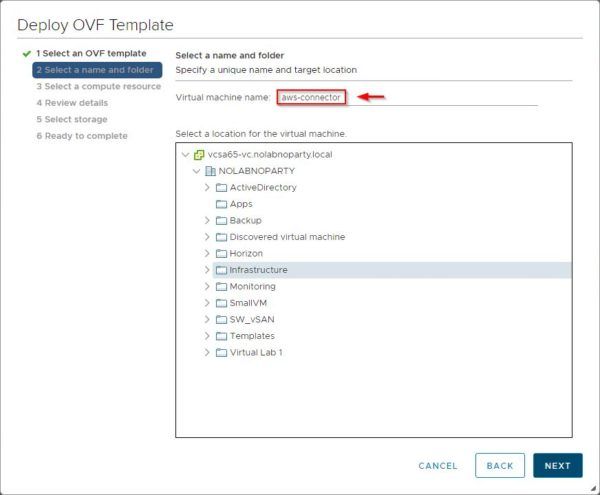
Specify the Virtual machine name and select a folder then click Next.
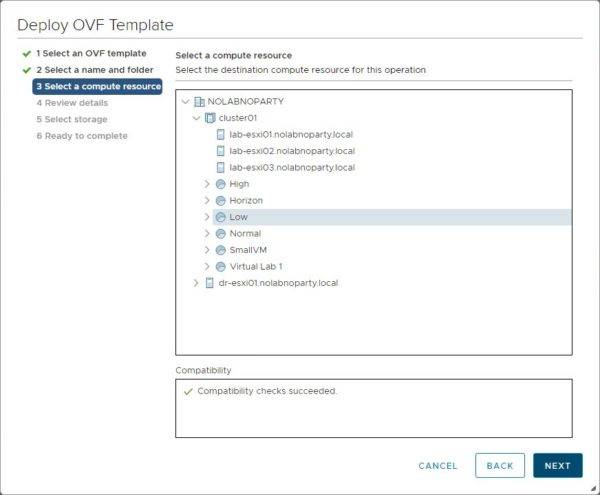
Select the compute resource then click Next.
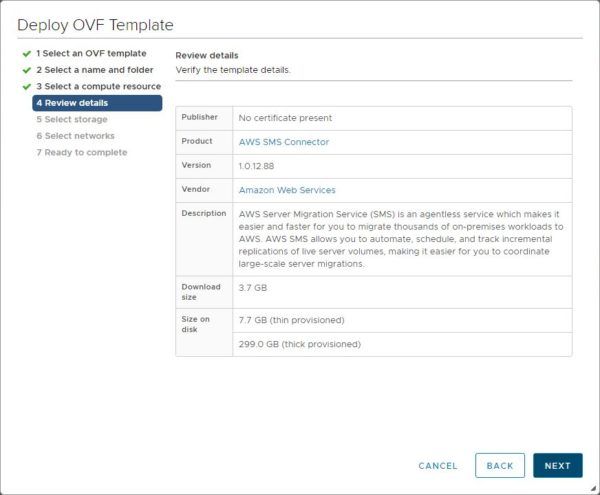
Click Next to continue.
Specify the virtual disk format and the datastore to store the appliance. Click Next to continue.

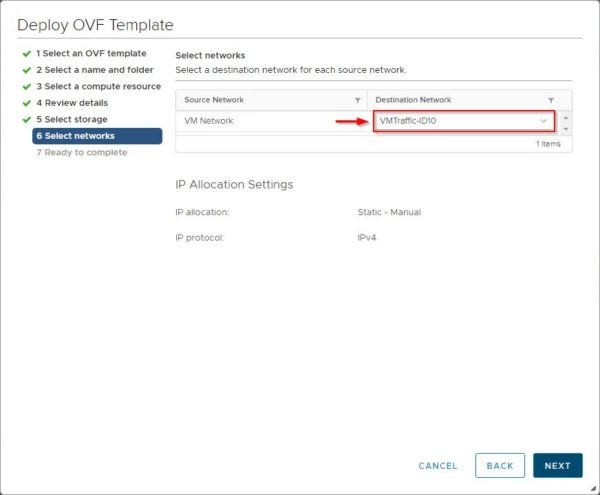
Specify the correct Destination Network to use then click Next.
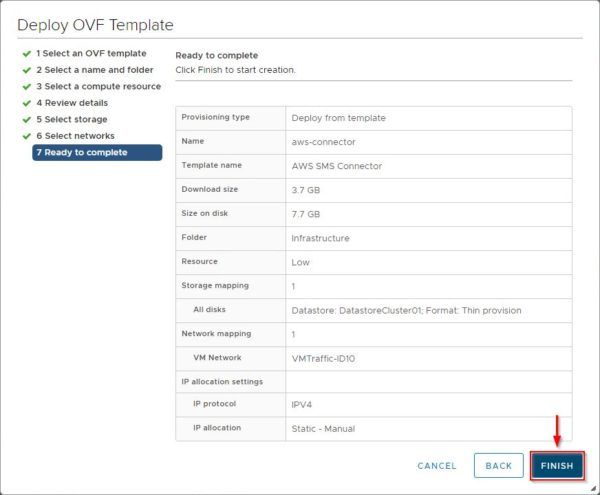
Click Finish to deploy the appliance.
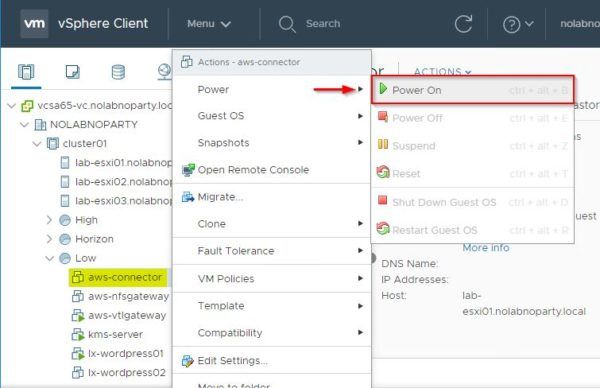
When the appliance has been deployed successfully, right click the VM and select Power > Power On.
Configure the SMS appliance
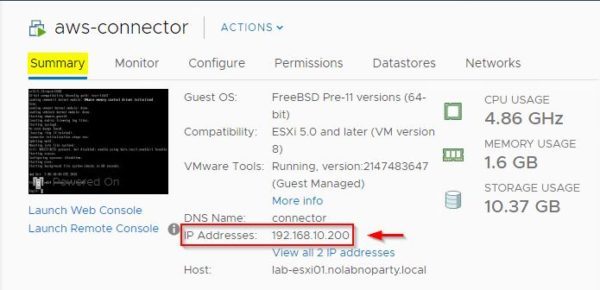
From the SMS appliance’s Summary tab, note the IP address assigned to the SMS by the DHCP. By default the SMS appliance is configured to get the IP address via DHCP.
Open your favorite browser and type the address https://SMSappliance_IP_Address. Click Get started now button.

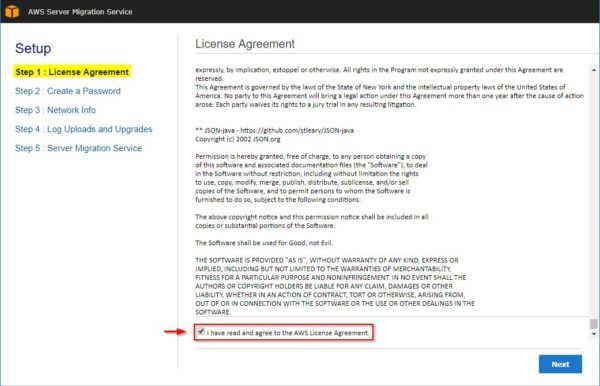
Accept the EULA and click Next.
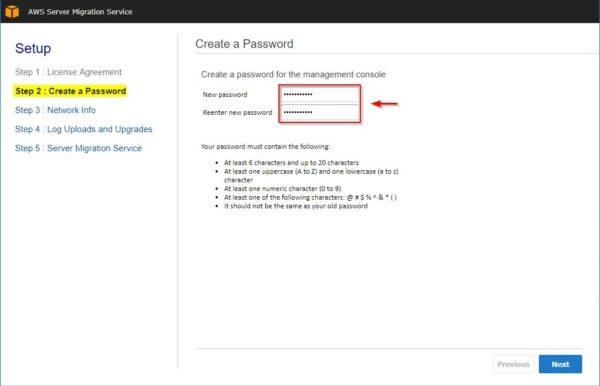
Enter a New password and click Next.
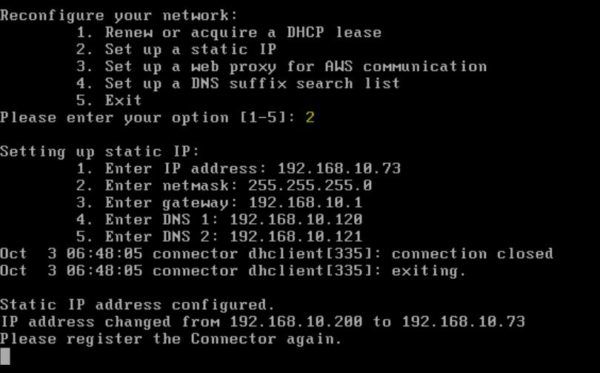
Follow the instructions if you want to configure a static IP address then click Next. The default SMS credentials are the following:
Username: ec2-user
Password: ec2pass
Login to the appliance’s console and run the following command to configure network settings:
|
1 |
# sudo setup.rb |
In the example a static IP address has been configured.
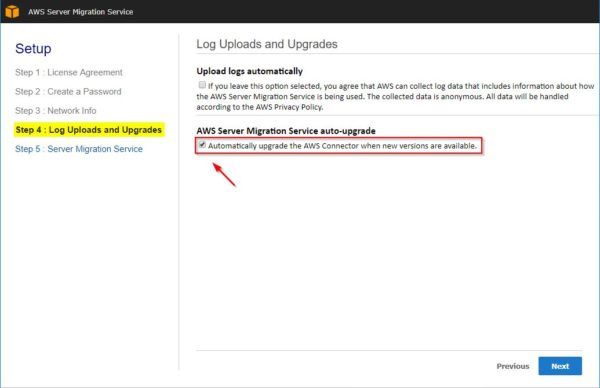
Select Automatically upgrade the AWS connector when new versions are available to keep the appliance always up-to-date. Click Next.
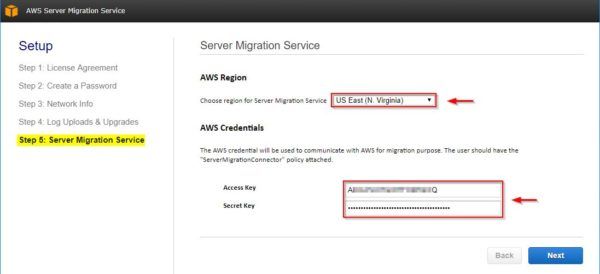
Choose the Region for SMS and enter the Access key and the Secret key of the IAM account previously created. Click Next.
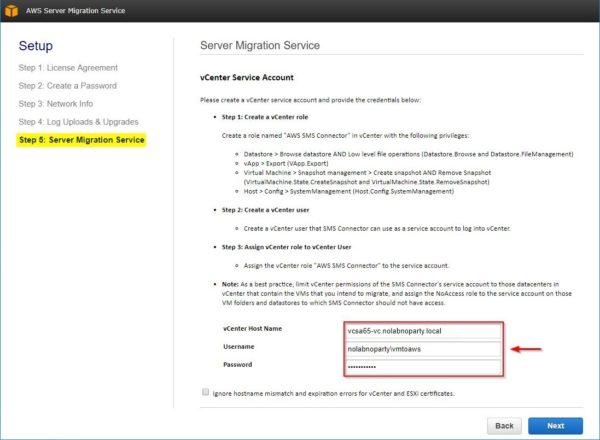
Specify the vCenter Host Name and Username/Password of the account used to connect the vCenter Server. Click Next.
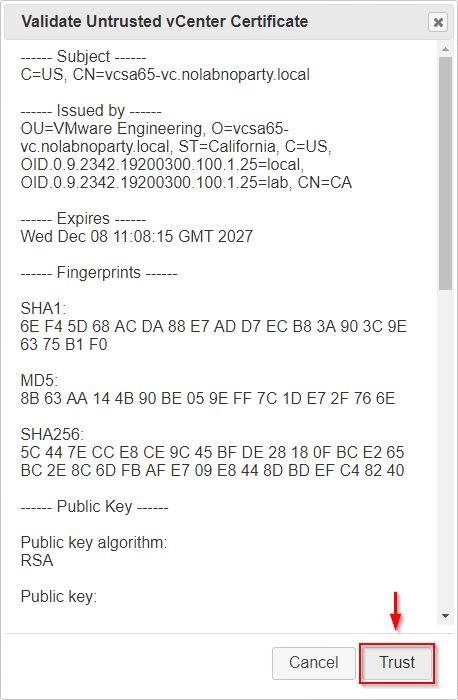
Click Trust to validate the certificate.
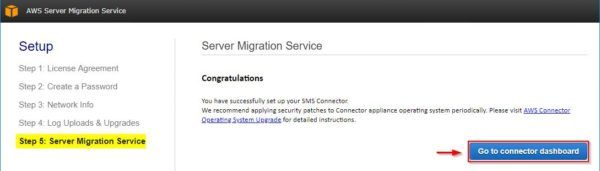
The SMS Connector has been configured successfully. Click on Go to connector dashboard button.
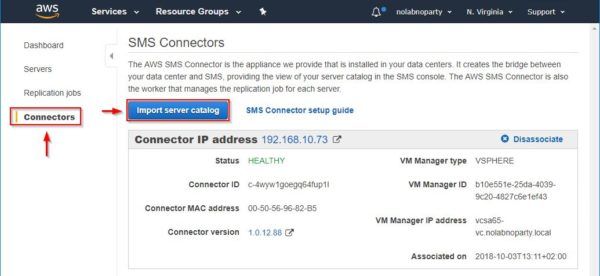
The SMS Connector dashboard.

Import the server catalog
From the AWS console, click on Server Migration Service under the Migration section.
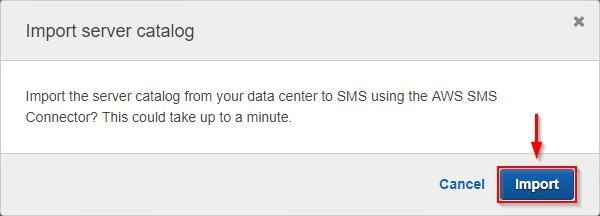
Go to Connectors tab and click Import server catalog to create a list of VMs in the specified vCenter Server.
Click Import to proceed.
When the import procedure has completed, a list of virtual machines currently running in the vCenter Server is displayed.
Migrate virtual machines to AWS
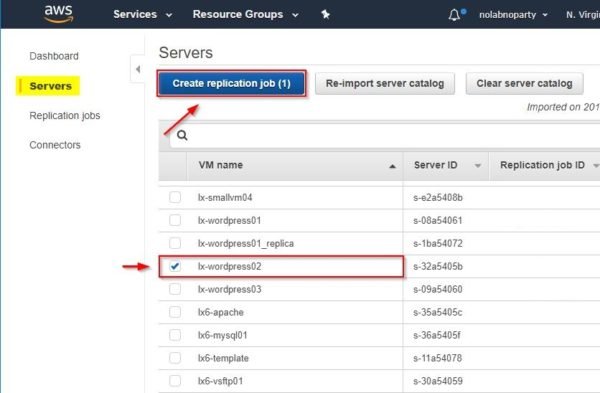
When the import process has completed, from the Servers tab select the virtual machines you want to replicate to AWS. Click Create replication job.
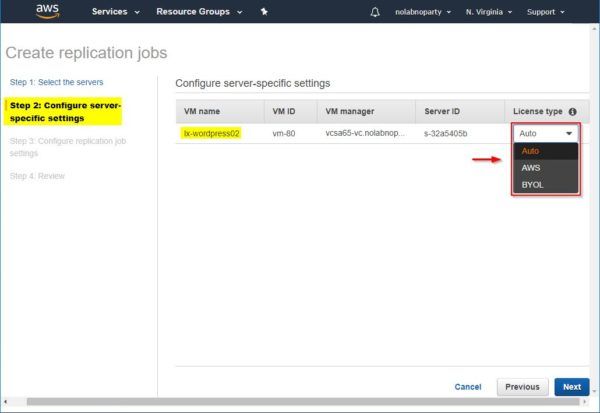
Specify the License type then click Next. Available license types are the following:
- Auto – the source OS is detected and the appropriate license is applied to the migrated VM
- AWS – an aws license is assigned to the migrated VM if appropriated
- BYOL – the source-system license is retained on the migrated VM if appropriated
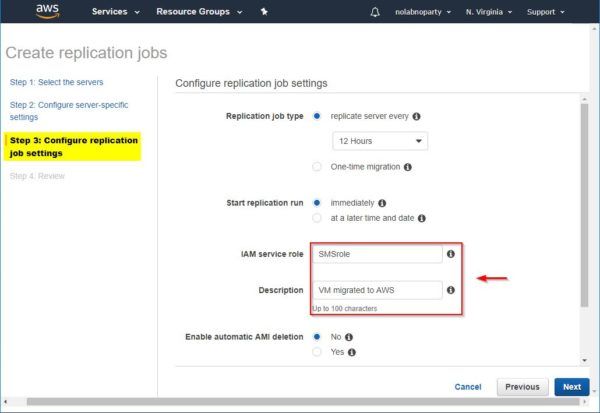
Configure replication settings and specify the IAM service role to use created at the beginning of the procedure. Click Next.
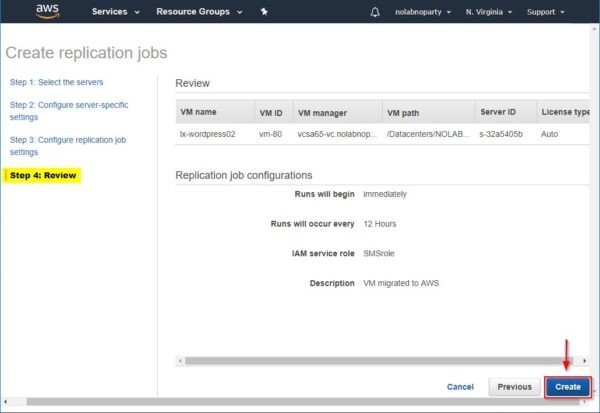
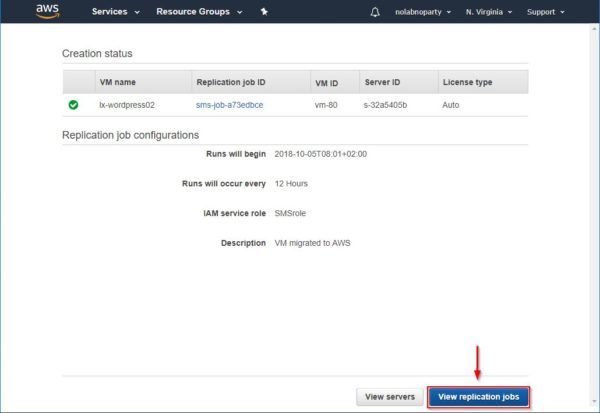
Click Create to replicate the selected VM to AWS.
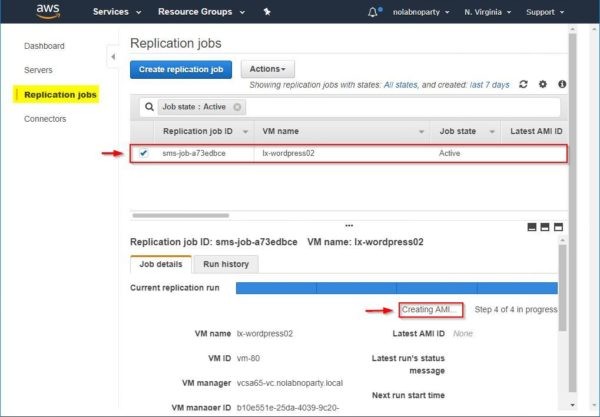
The configured replication job begins. Click View replication jobs button to see replicated VMs.
Replication details can be displayed by selecting the active replica.
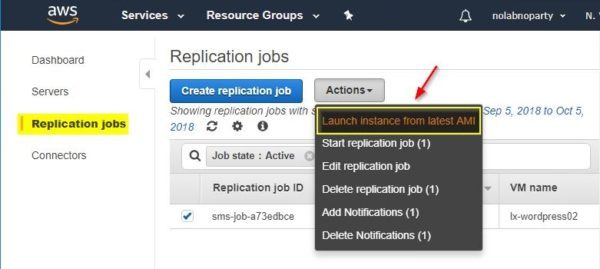
When the migration has completed successfully, an AMI ID is created. Select the migrated VM and click on Actions > Launch instance from latest AMI to run the VM.
The VM can be launched also from the EC2 dashboard in the Images > AMIs section.
Using this procedure, the migration of multiple on-premises virtual machines to AWS can be performed in an easy way.
